A broken garage door remote is highly inconvenient, given the value it brings in your life. The convenience of not having to step out of the vehicle and added security are some of the factors that make a working remote one thing homeowners cannot live without. Replacing a garage door opener remote may seem intimidating, but with some tips, this will be fixed right away without necessarily calling the experts.
The Intricacies of Your Garage Door Opener Remote
The Many Faces of Remotes
Garage door opener remotes come in a spectrum of shapes and sizes, each crafted to seamlessly integrate with particular opener models. Single-button remotes cater to one garage door, whereas multi-button remotes take a more holistic approach, catering to several doors or even operating other gadgets, like lights or gates. Universal remotes, however, combine versatility and compatibility, making them an appealing option for those desiring a quick and easy solution.
Grasping the specifics of your remote type is paramount in selecting the correct substitute. This information is typically discoverable in your garage door opener’s user-guide or via an online search using the opener’s model number. If you’re wondering how to replace a garage door opener remote, knowing the type of remote you have is a good starting point.
The Crucial Aspect of Compatibility
When on the hunt for a replacement garage door opener remote, compatibility should be your watchword. While most garage door openers operate well with remotes from the same brand, the reverse does not always hold true. Consideration of the model number and operating frequency of your opener can guide you towards the perfect remote. The operating frequency is especially pertinent—some remotes function at 315 MHz, while others may employ 390 MHz.
If compatibility still leaves you feeling uncertain, explore options for universal remotes. Designed to fuse with a broad range of brands and models, these are an accessible choice, complete with clear programming instructions. When people ask, “how do I replace a garage door opener remote?”, universal remotes often provide an easy answer.
Steps for Replacing Garage Door Opener Remote
Step 1: Finding the Right Type of Remote
As we’ve discussed, different garage door remotes have different systems to accommodate, and as such, you will first need to identify the remote type that will suit your system. Start with finding the brand name and type of model in your garage door opener. They are available largely on your garage motor unit in your case, usually along or adjacent to your ceiling. What you seek is the brand name, the model number, as well as the production date placed on the label or on a plaque.
Once you have gathered this information, you will need to decide on the operating frequency of your garage door opener. More modern systems will use some of the radio frequencies normally marked on the same sticker; in most cases, it may be 315 MHz or 390 MHz. There are also rolling code units – an anti-theft method that produces a new code each time the unit is used. If your opener is equipped with this technology, you will require a compatible remote with it.
If you cannot figure this out, check the user manual or go to the manufacturer’s website. Replacement remotes for most companies can be bought, so this is easier. For universal remotes, make sure they are compatible with the brand and frequency of your opener. This step is critical when learning how to replace a garage door opener remote.
Step 2: Programming the New Remote
Once you’ve obtained the suitable replacement remote, the next move is to program it to work with your garage door opener. The procedure varies slightly depending on the manufacturer and design of your unit, but here’s a general method:
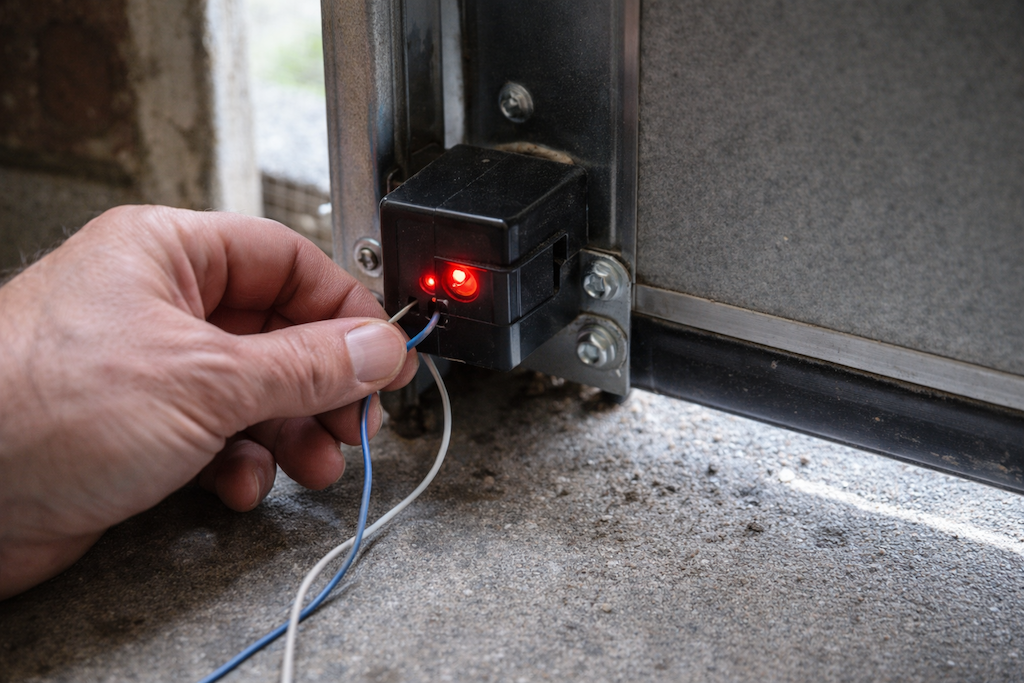
Finding the “Learn” Button
Locate the “Learn” button on your garage door opener motor. The button can usually be found under a cover or in the rear of the machine. It can be marked as “Learn” or “Program,” and on certain machines, it is followed by an LED light. The button or light color usually shows compatibility and operating frequency, so refer to your manual for more information.
Enabling the Programming Mode
Press the “Learn” button until the nearby LED light turns on or begins to flash. This is a sign that the opener has gone into programming mode. The light will only remain lit for a short time, usually 30 seconds, so be prepared to proceed.
Synchronizing the Remote
Hold and press your new garage door opener remote’s primary button. The motor unit LED light should blink or go dark again to indicate that the connection is being established. Let off on the remote button to complete the operation.
You may need to repeat it several times with some models to properly program the remote. If you experience difficulty, refer to the instructions in the manual for information specific to your model and brand. This process is key when figuring out how to replace a remote garage door opener.
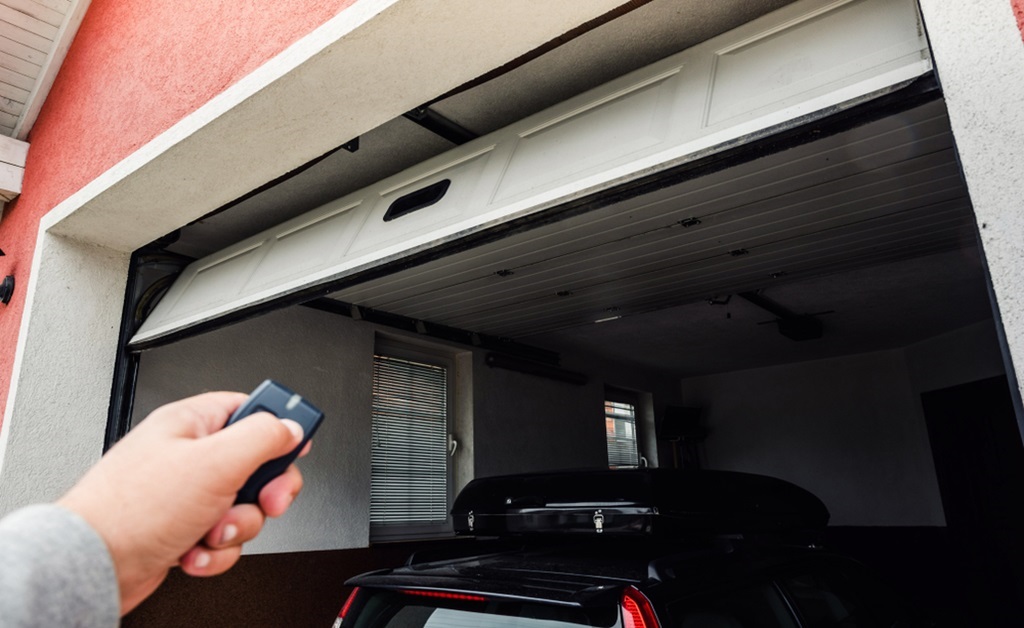
Testing the Remote
Lastly, try your new remote-programmed device by standing at a reasonable distance and pushing the button. The garage door should open or close. If it does not react accordingly, go back over the programming steps and check the batteries in the remote for freshness. If you’re still having trouble, considering garage door opener repair in South Florida could help resolve ongoing issues.
Troubleshooting Hurdles
Even a process as straightforward as replacing a remote can encounter hiccups. Ensure that the batteries are correctly inserted and sufficiently powered. If the garage door seems averse to closing, inspect the door’s sensors for cleanliness and alignment. A limited remote range might be remedied by replacing batteries or checking for interference by other electronic devices. When users question, “how do you replace a garage door opener remote?”, these troubleshooting steps can be very helpful.
Taking Charge of Your Garage Door Again
Replacing a garage door opener remote is not a complicated task once you know how to do it and how to overcome issues. Having the ability to know the type of remote your system requires and how to install it through the proper methods, you can regain the safety and convenience of your garage door within no time.
In case of problems, don’t be afraid to contact the customer care of the manufacturer or seek the services of a professional for older units that may face compatibility issues. Whether you’re asking professionals, “how do you replace a garage door opener remote?” or have found all the answers you need in this guide, we wish you the best on your garage repair journey!